For us photographers, especially wedding photographers, one of the most satisfying parts of our job is handing over the final images to our clients. It's a mix of excitement and nerves as we wait for that "The Photos are AMAZING" email from the client. No matter what, it's a major achievement for our workflow that we can proudly check off our list. Figuring out the best way to deliver images in today's fast-paced mobile world comes with its own set of challenges and choices that we'll need to consider.
Delivering Wedding Photos to Clients
Back in the day, when it came to photo proofing, you had to go through the hassle of emailing all the images to your client and wait for them to send back a list of their favorites that needed editing. But thankfully, things have changed now!
The issue here is that it's a total time-suck. You end up going back and forth with the client via email, finalizing photos and making changes. And if they make any mistakes or want to add more photos, you have to go through the whole process again of getting them to send you another email with the updated selections. It's just a hassle!
Forget old-school photo proofing methods! Opt for an online photo proofing system to level up your client communication game and speed up the entire process. With this nifty tool, clients can give their seal of approval on photos they love in a jiffy. No more waiting around!
Edit only the Photos the Client wants to have
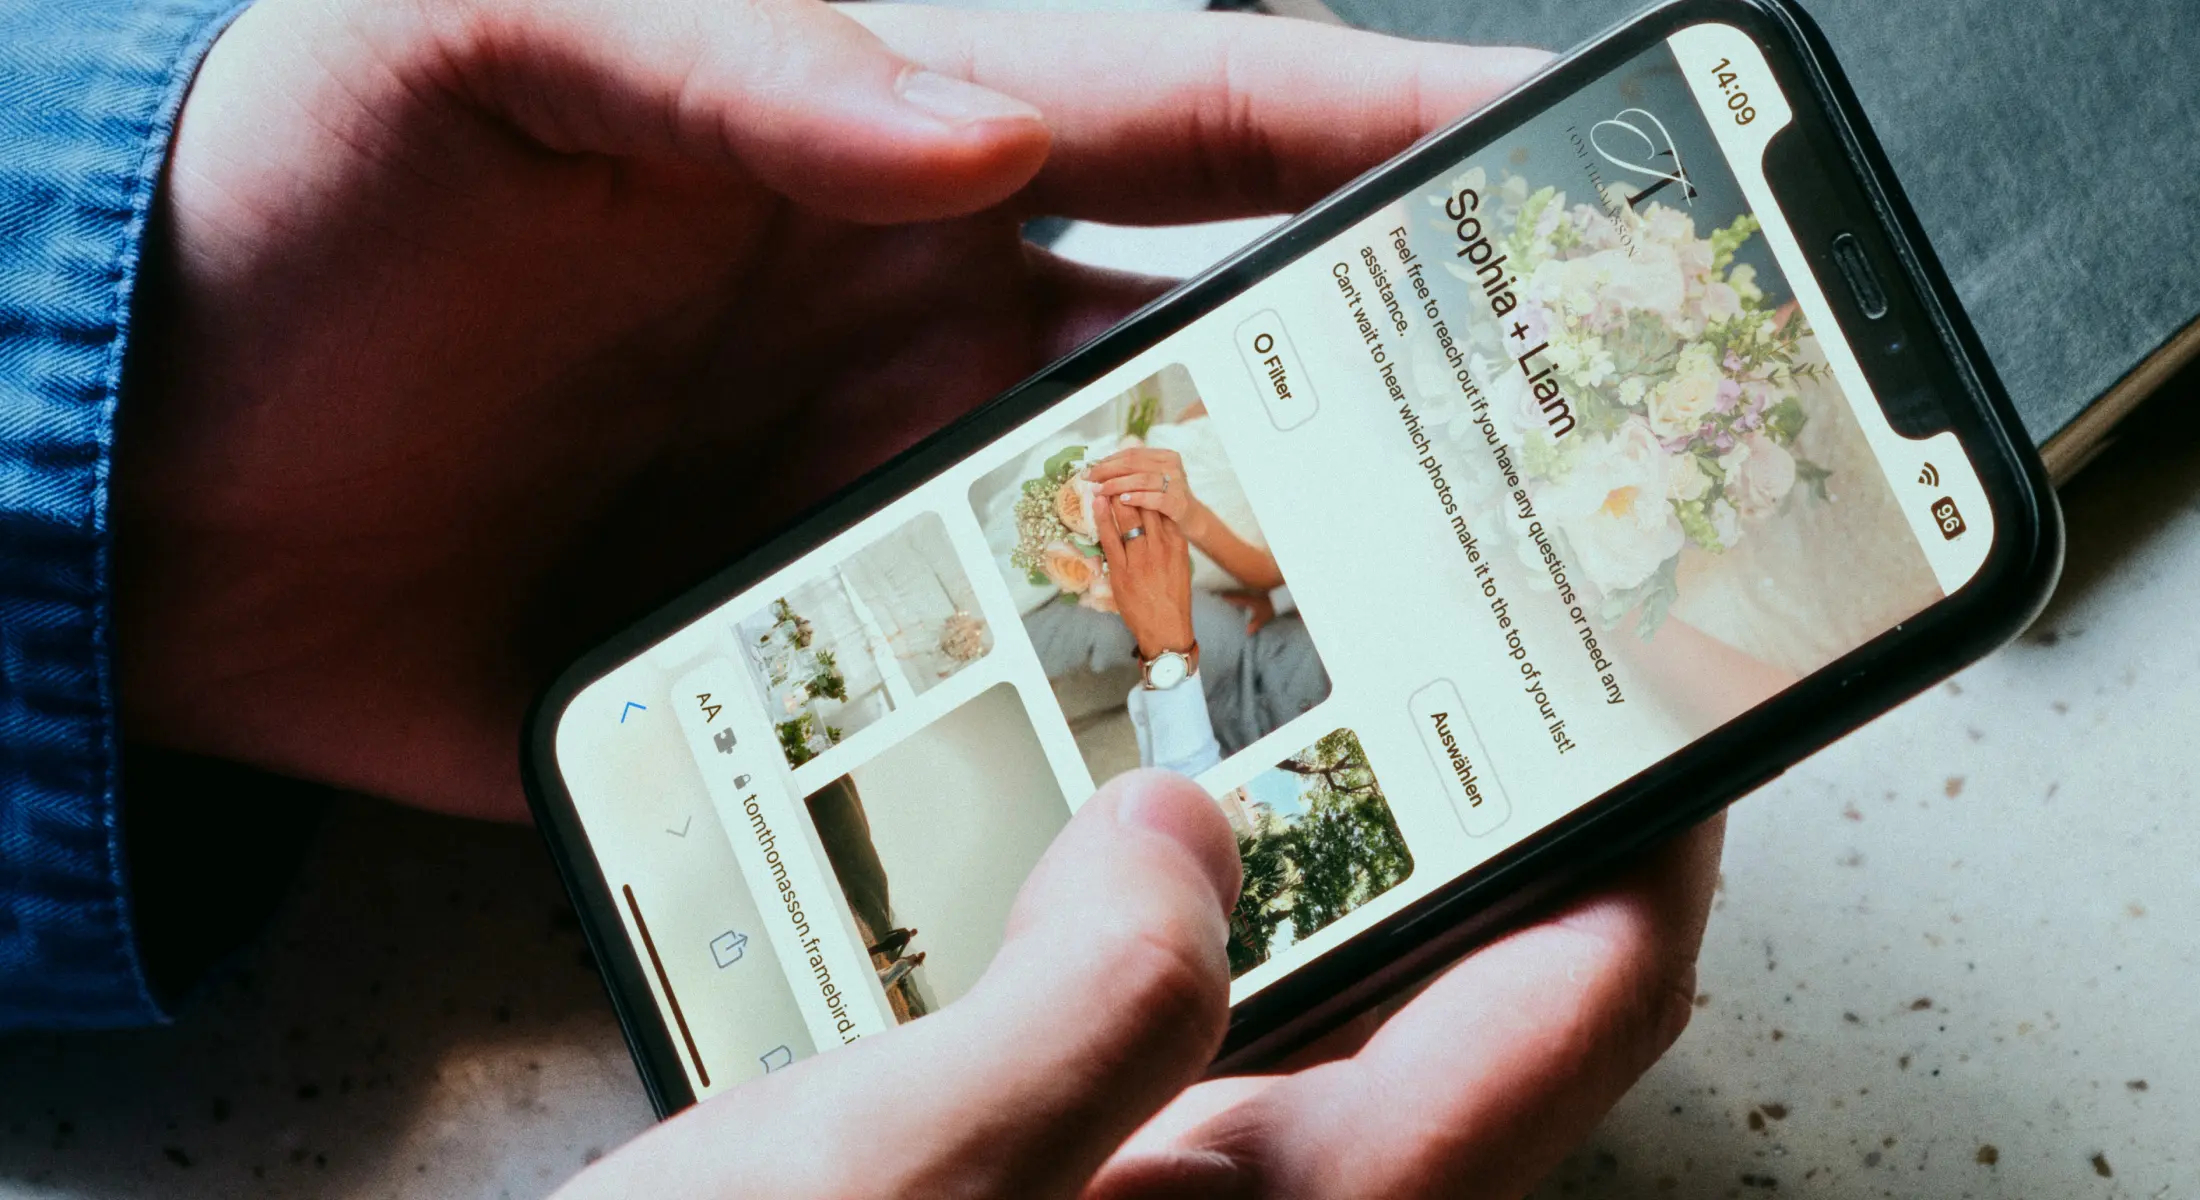
When it comes to wedding photoshoots, there's usually a ton of pictures to take and edit. But with online photo proofing, you have a stress-free way to handle it all. Just upload all the wedding images and share the gallery link with your clients. (Tip: Disable the downloads to prevent clients from downloading the unedited photos.) They can easily go through the pictures and pick out their favorites. Easy peasy!
Share your Images with Framebird
Step 1: Create an Account
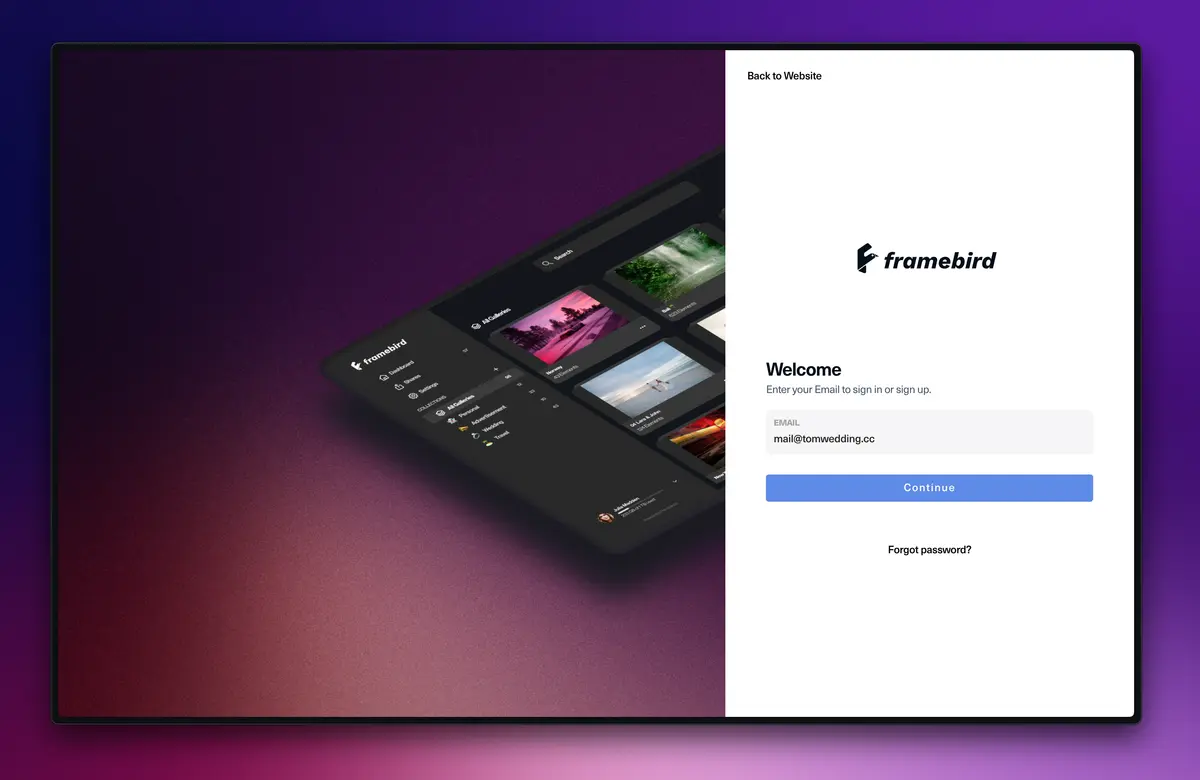
Creating an account with Framebird is a breeze. Just enter your email and you'll be up and running in no time, literally within seconds! And guess what? It's completely free of charge, which makes it even better. So go ahead and give it a try!
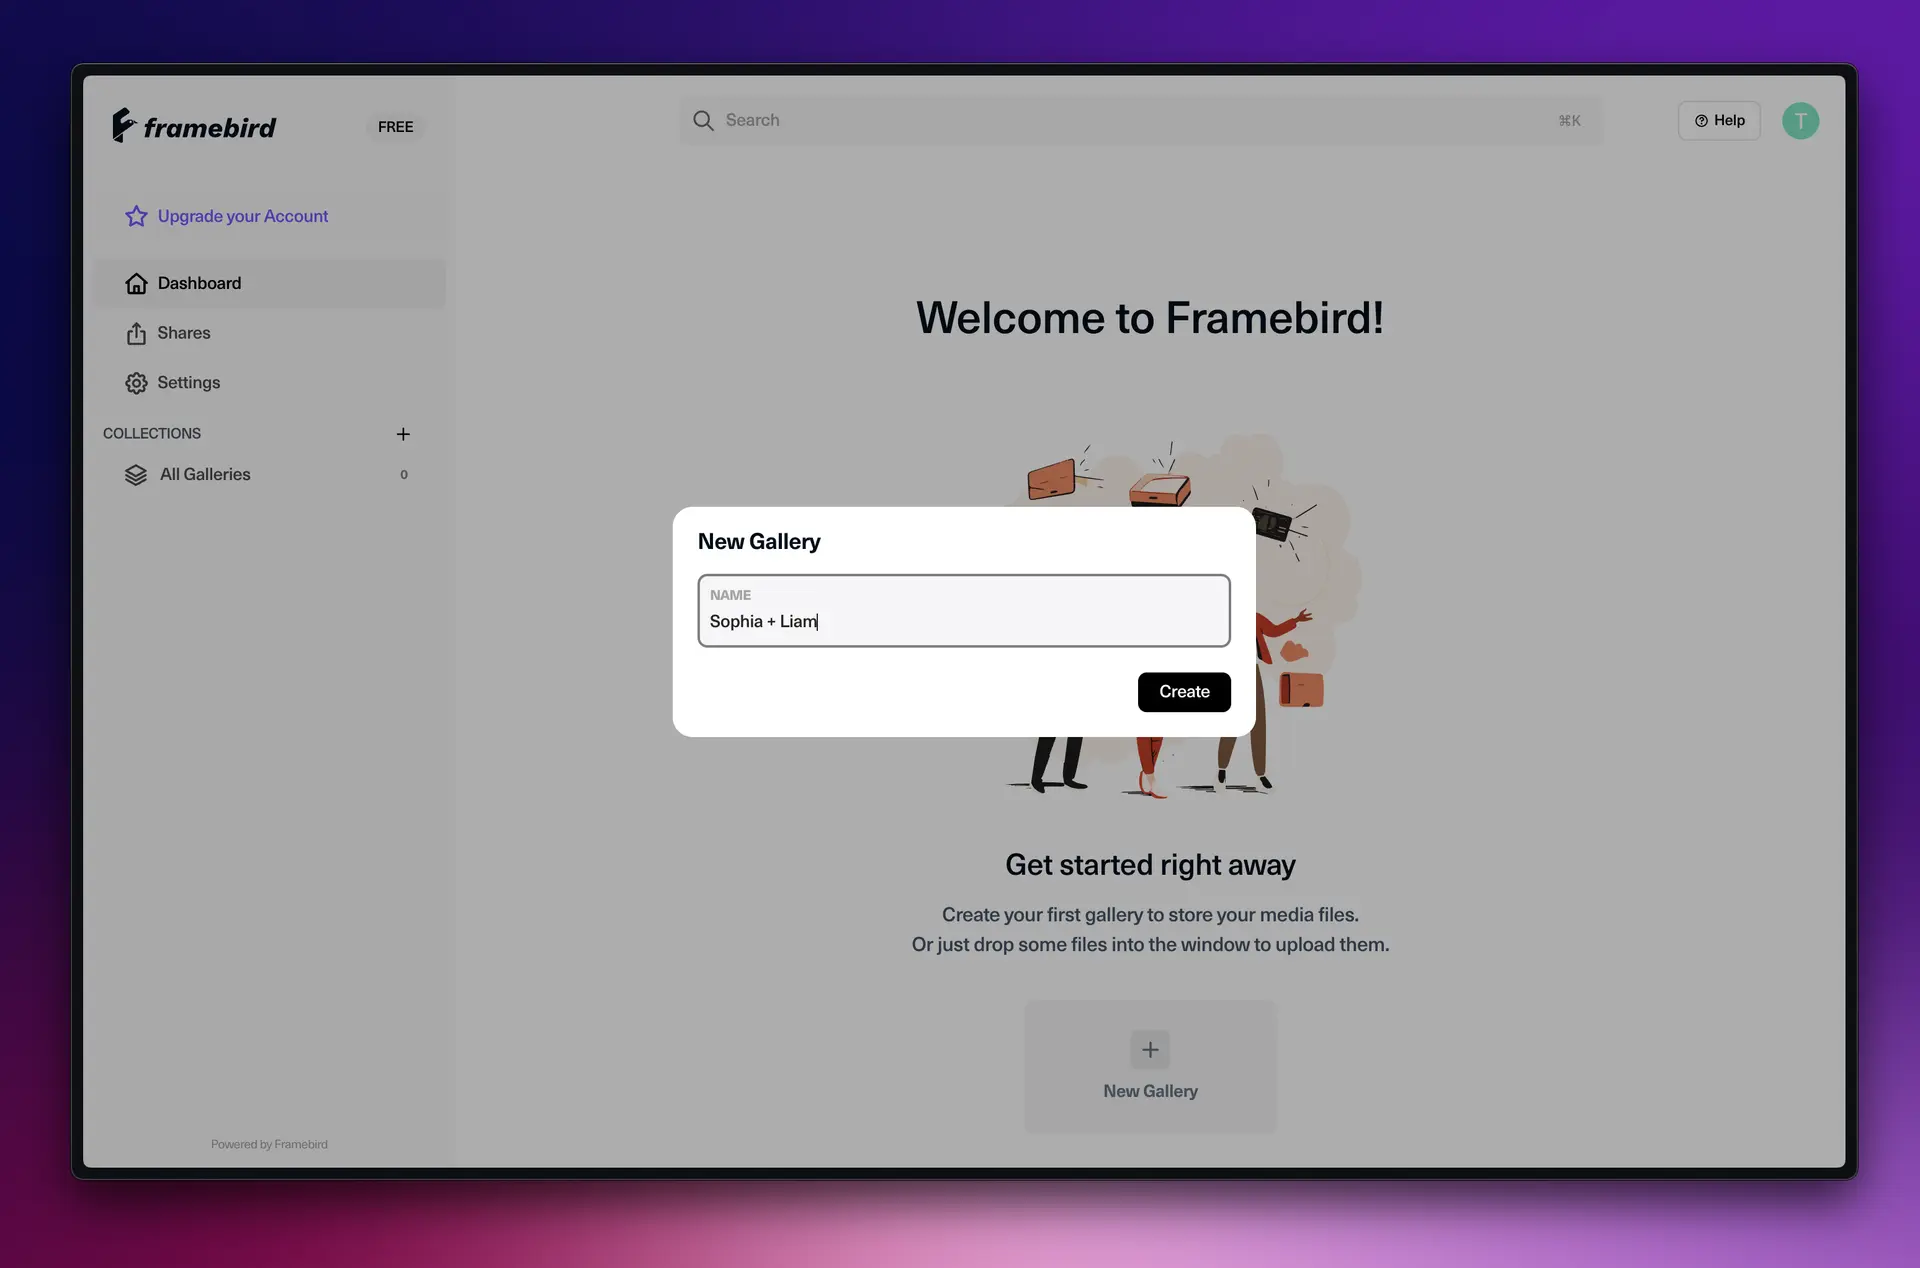
Step 2: Create a Wedding Gallery
Just click on "New Gallery" and then enter the name of your event. You can easily add your photos by simply dragging and dropping them.
While they upload, take a moment to relax (maybe grab a coffee if you have slow internet like we do here in Germany). Or you can just go to the next step and let the upload run in the background.
Step 3: Customize your Share Design
Go to Settings → Appearance → Shares
Pick a theme that you really dig and customize it to your liking. Play around with stuff like the grid size, gap between photos, and roundness until it feels just right for you.
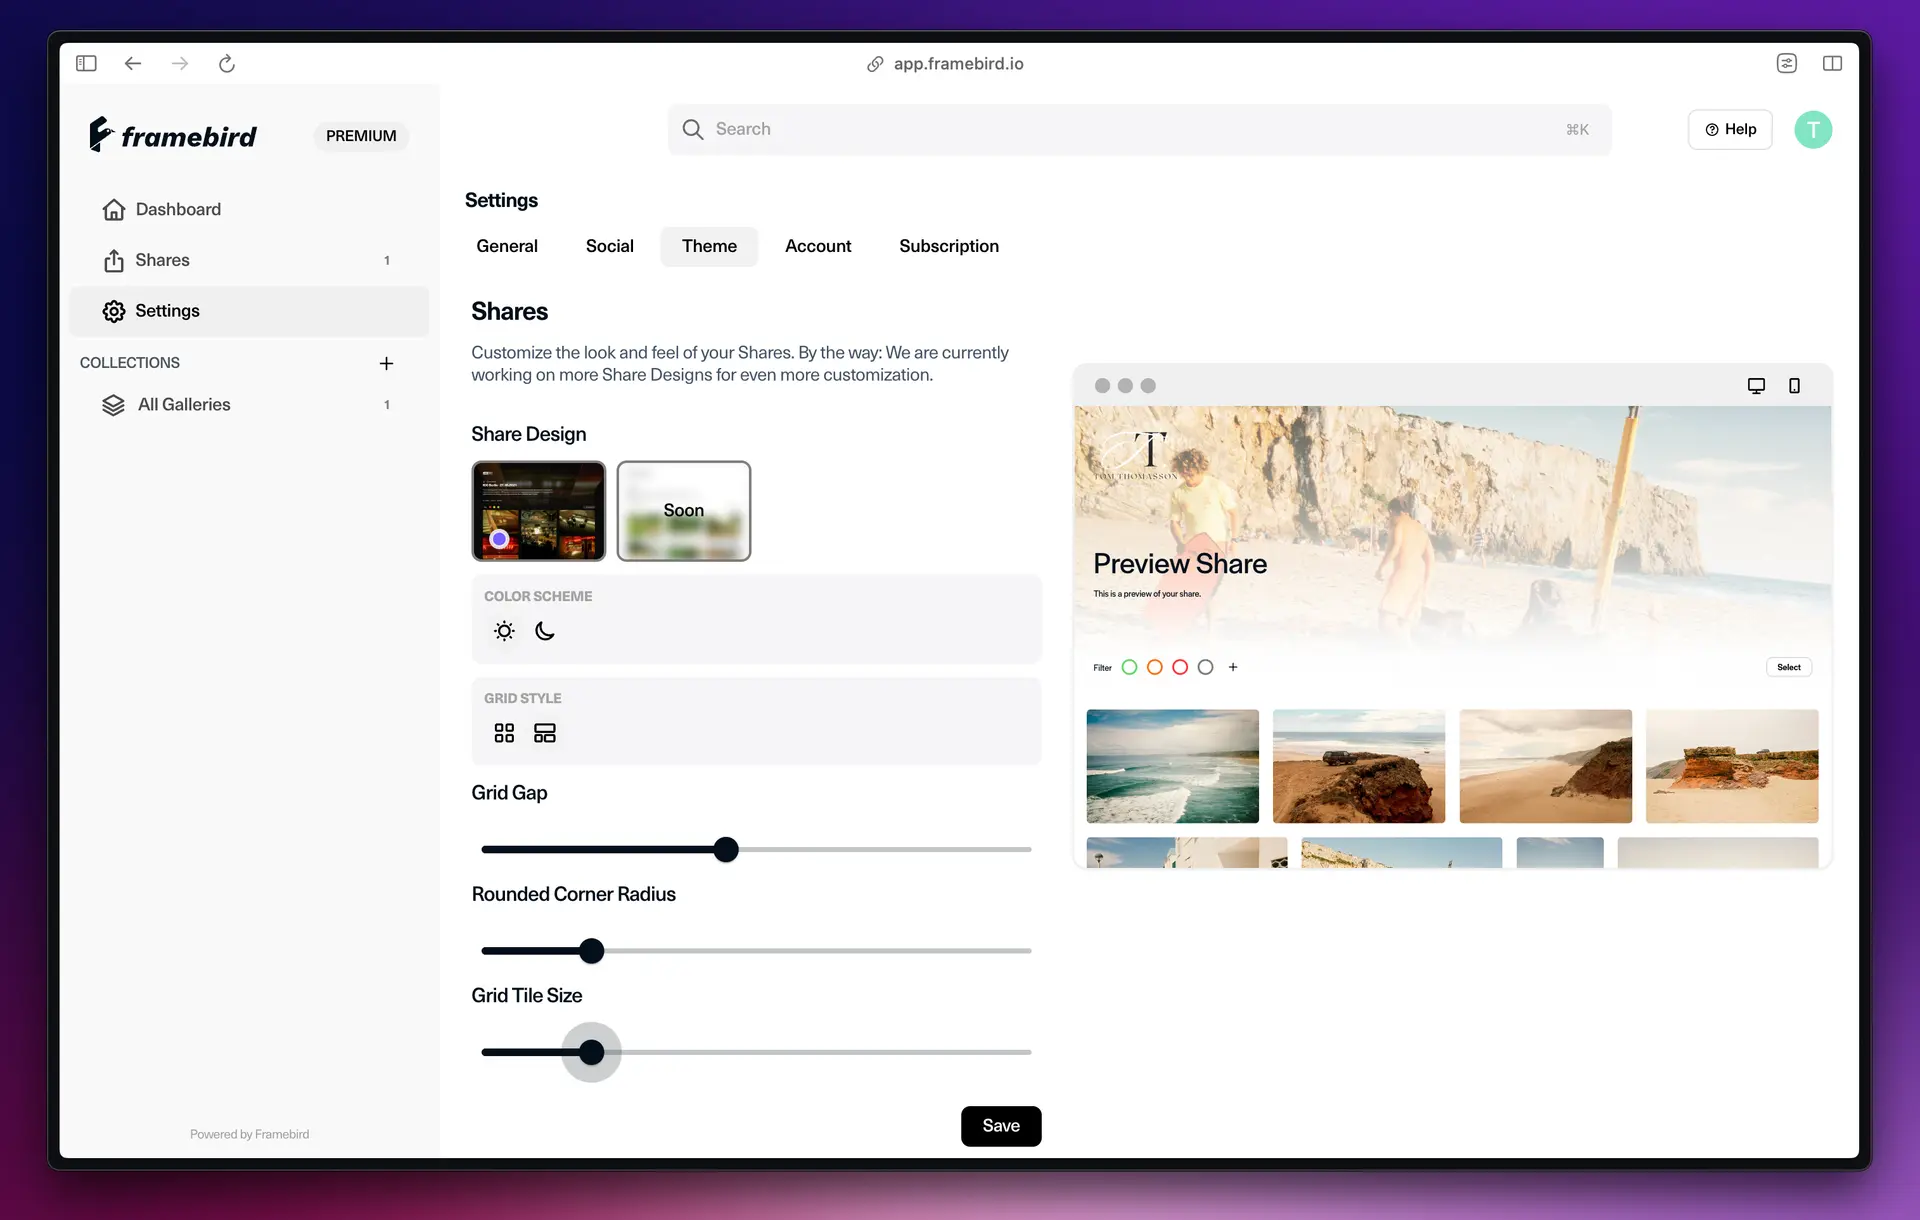
Alright, let's get your logo uploaded! This way, your clients will easily recognize your brand and feel right at home when browsing through your shared galleries.
Step 4: Share the Gallery
Finished uploading? Great! Now it's time to share the gallery. If you're still in the process of uploading, no need to worry. We'll send you an email as soon as it's all done.
Head over to your Gallery and tap that "Share" button in the top right corner.
Enter a Title for the share and some message you want to give to the bridal couple.
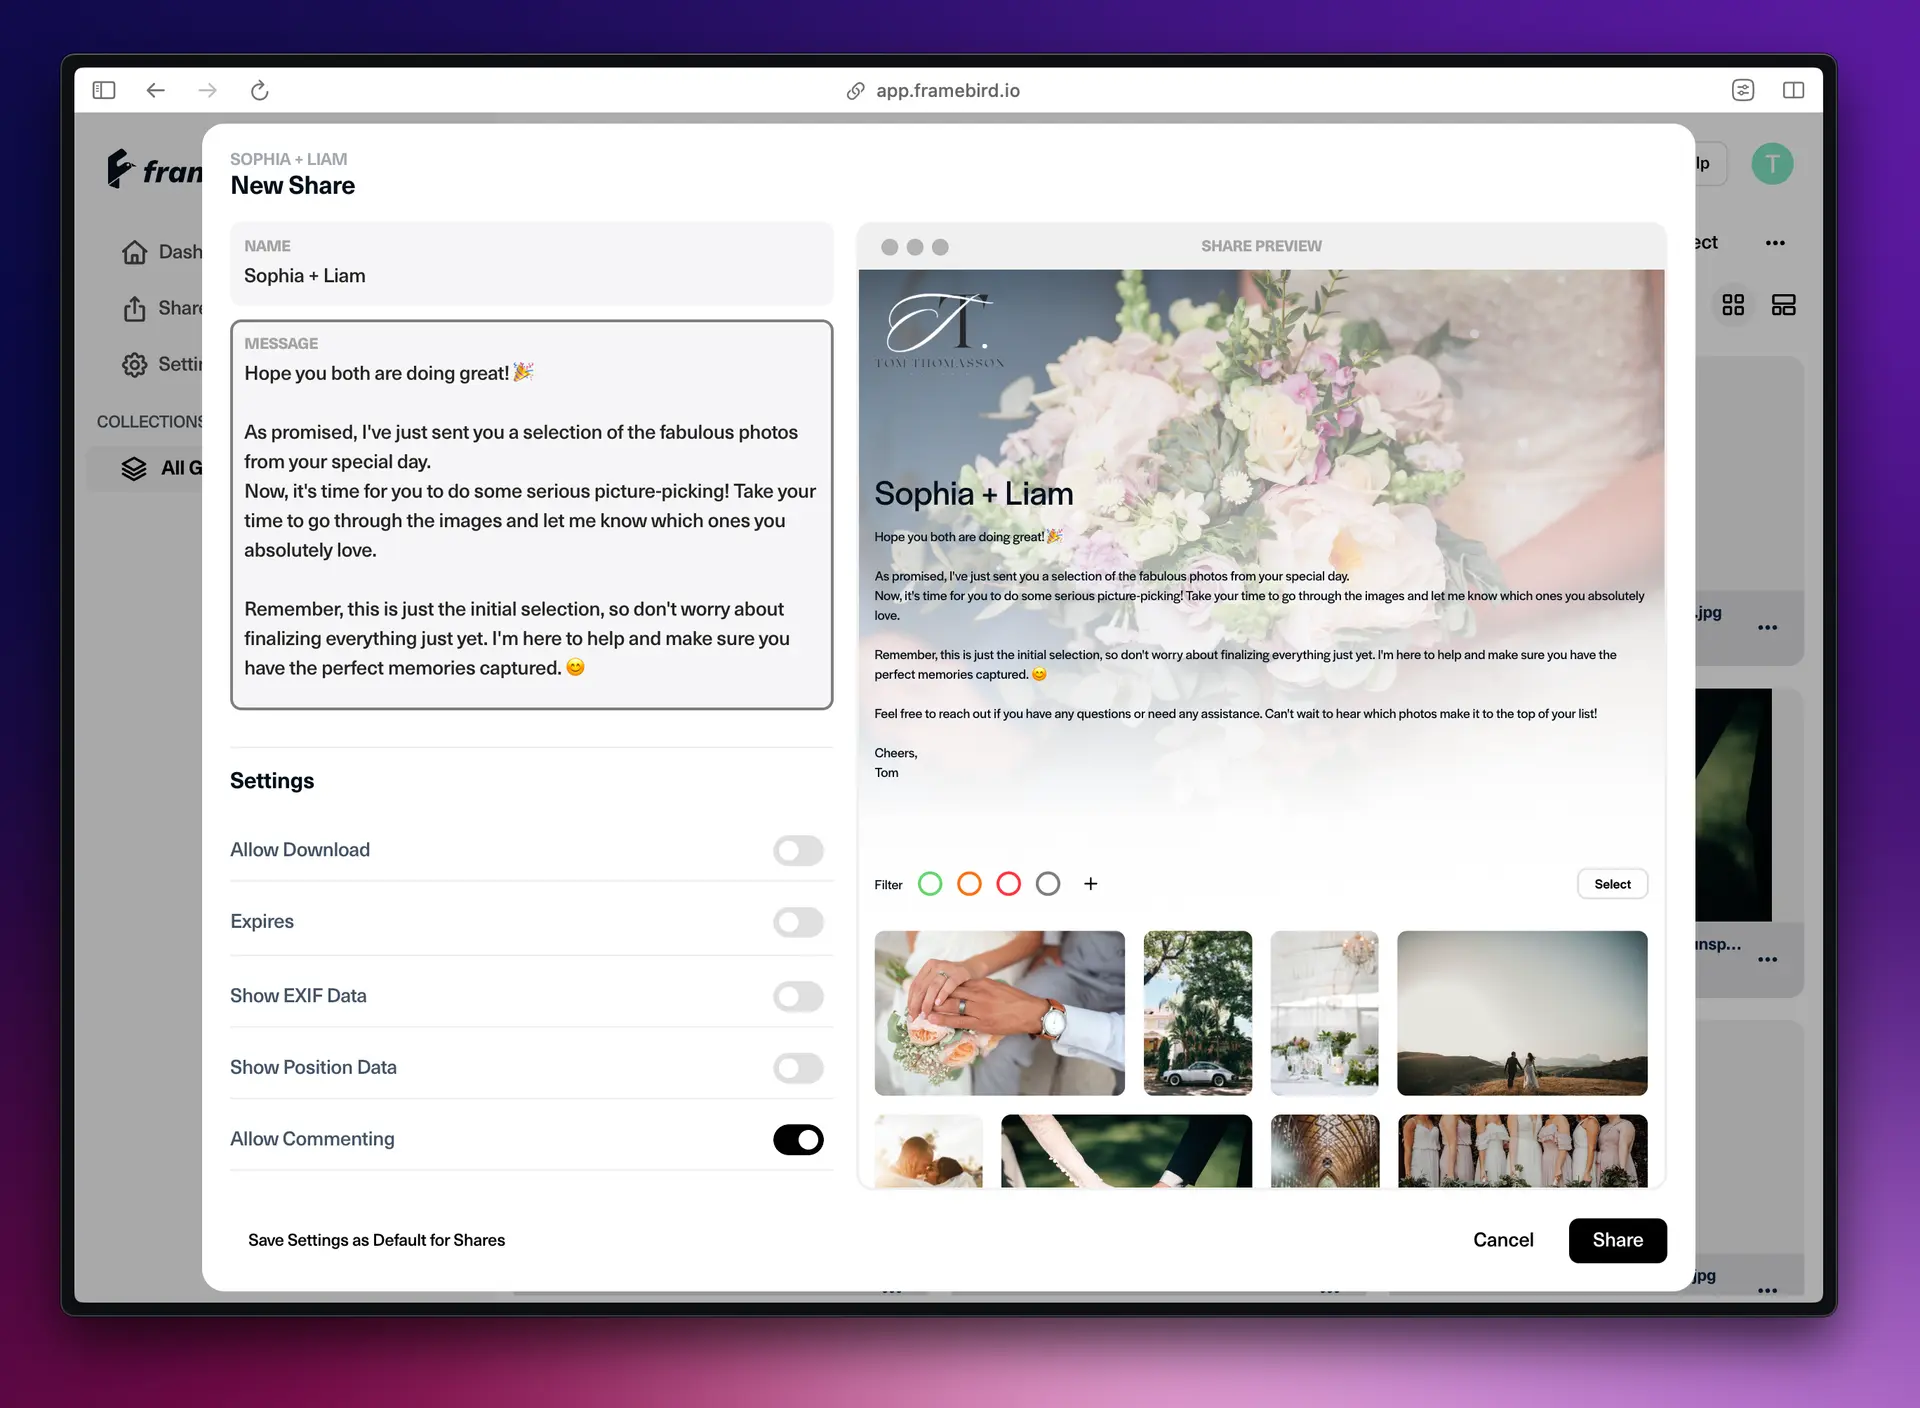
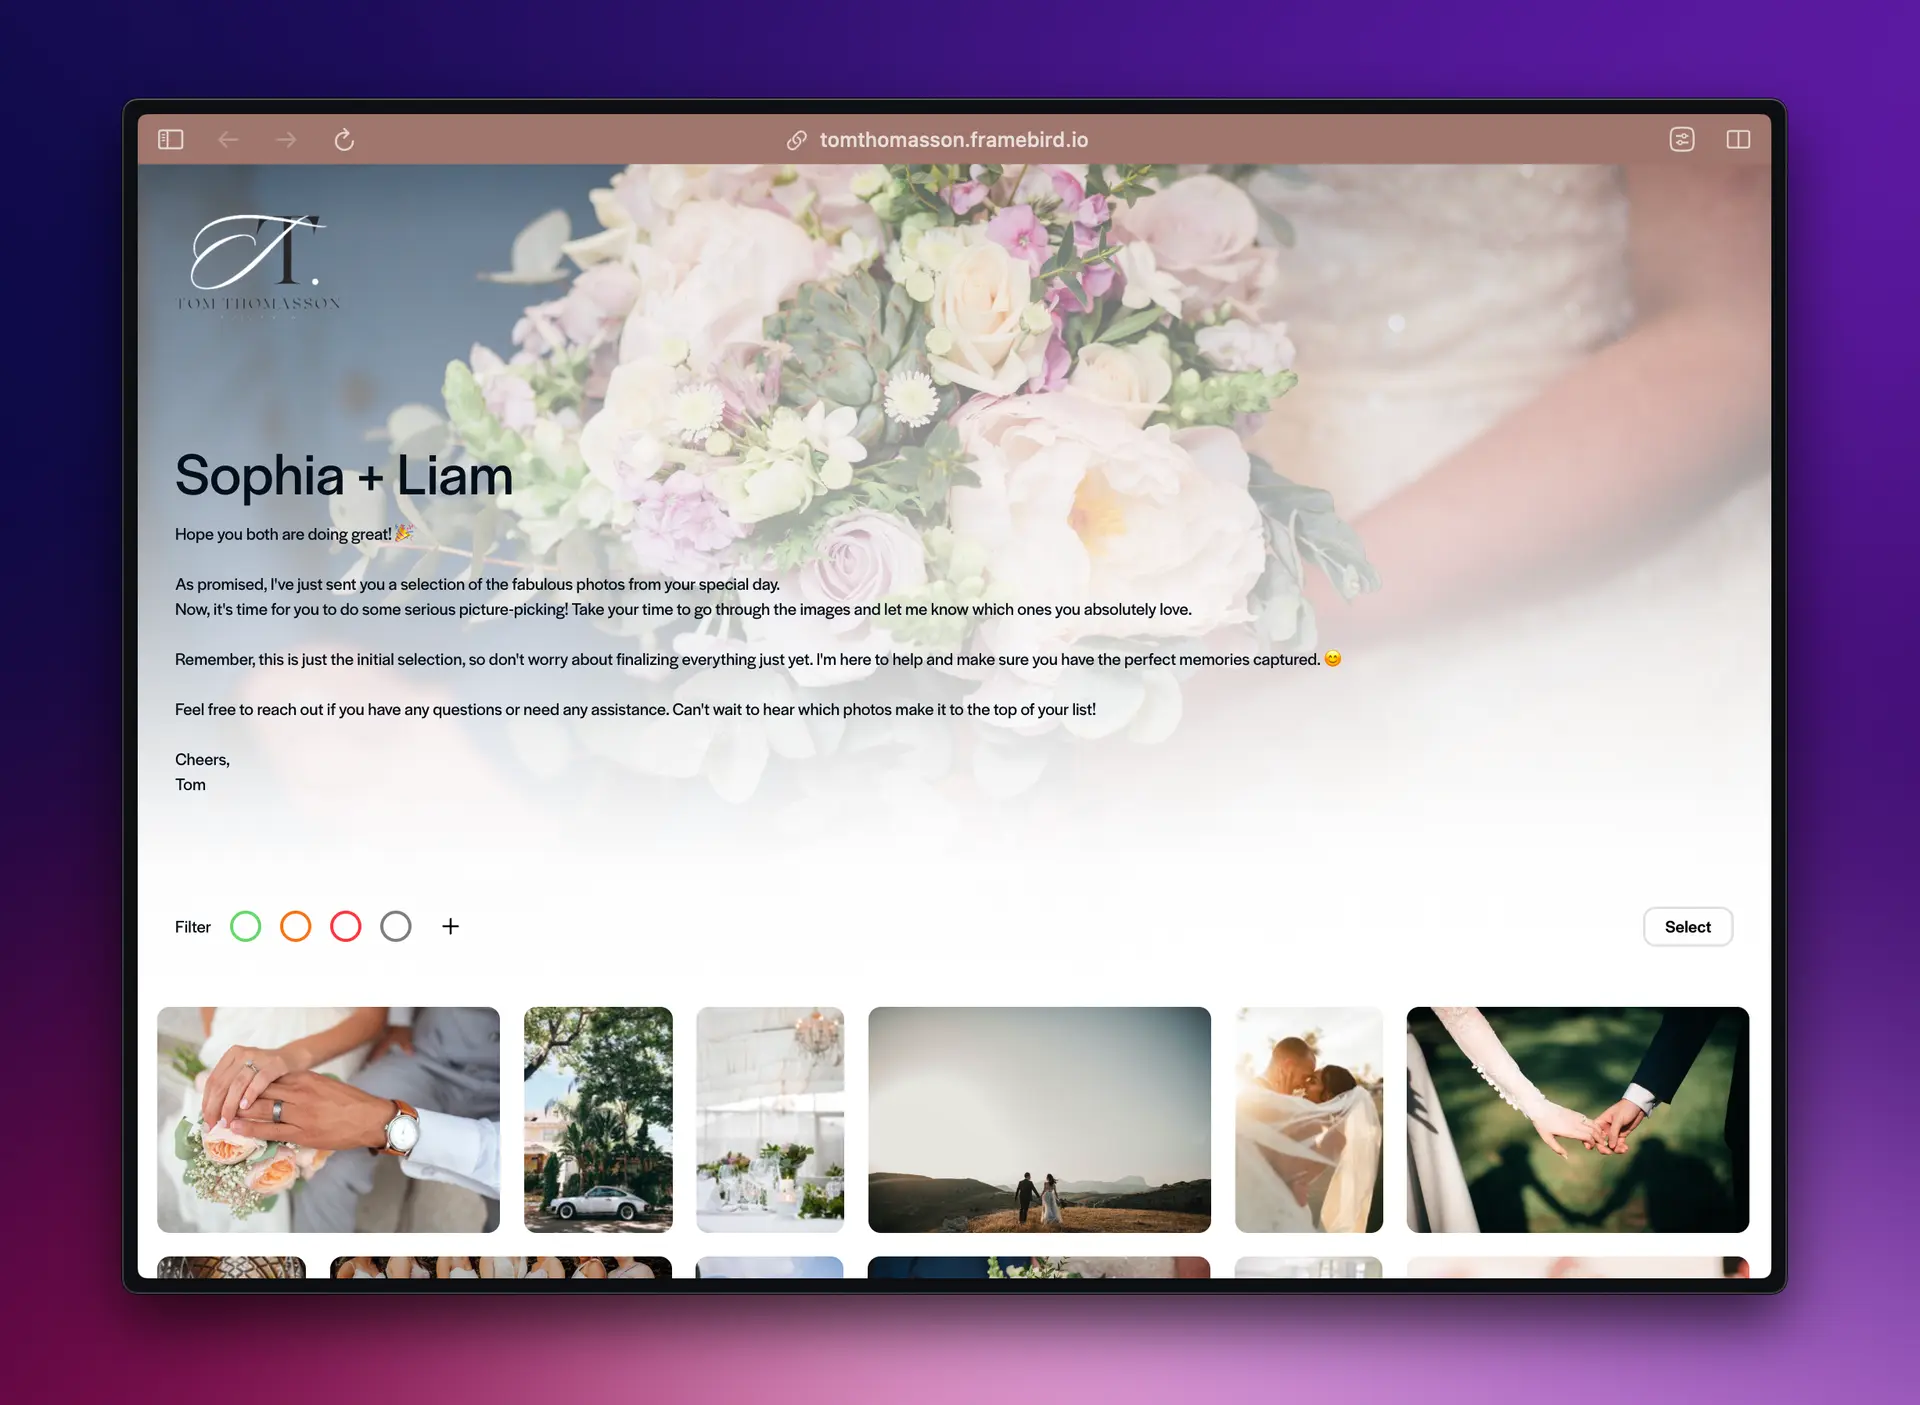
You can see all the changes you make live in the right preview window. If you're looking to switch up the title image, it's super easy. After you've created the share, just click on the three dots of any image and select "Set as Title Image".
If you feel like adding a password to the share, you can do it here. It's not really necessary since only those with the link can access it, but if you want that extra bit of security, go ahead and set a password.
Once you click on "Share," you'll receive a unique link that you can send to the bride and groom or even the guests. It's a convenient way to keep everyone in the loop!
Delivering Your Wedding Photos with Care and Professionalism
Want to make your wedding photography workflow smoother? Give online photo proofing a shot with Framebird! It's super user-friendly and will definitely level up your game. Start using it today and see the difference it makes!